Loading...
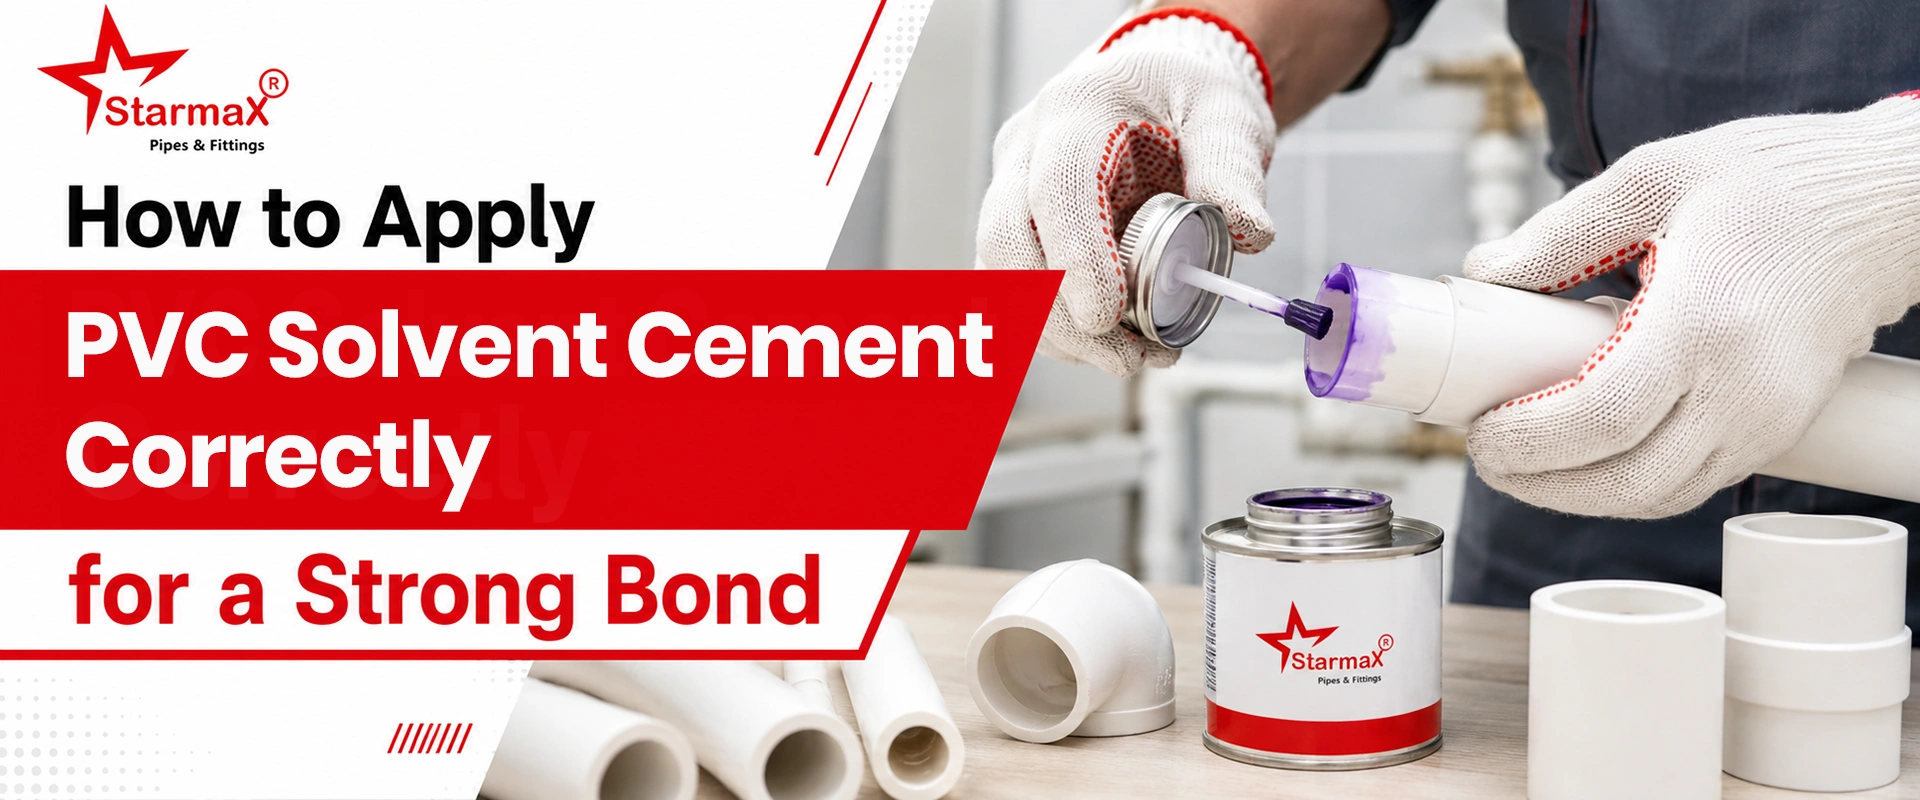
How to Apply PVC Solvent Cement Correctly for a Strong Bond
PVC pipes are widely used in plumbing, irrigation, drainage, and water supply systems due to their durability, affordability, and ease of installation. However, the strength and reliability of any PVC piping system largely depend on how well the joints are connected. Using PVC solvent cement correctly is essential for creating a leak-proof and long-lasting bond between pipes and fittings.
In this guide, we'll explain the step-by-step process of applying PVC solvent cement correctly, common mistakes to avoid, and tips for achieving a strong and durable connection.
What Is PVC Solvent Cement?
PVC solvent cement is a specially formulated adhesive that chemically softens the surfaces of PVC pipes and fittings. Rather than acting like traditional glue, it fuses the two PVC surfaces together, creating a permanent joint that is often as strong as the pipe itself.
When applied properly, solvent cement ensures:
- Leak-proof connections
- Strong and durable joints
- Resistance to pressure and water flow
- Long service life of the piping system
Tools and Materials Required
Before starting, gather the following materials:
- PVC pipe
- PVC fittings
- PVC solvent cement
- PVC primer (if recommended)
- Pipe cutter or hacksaw
- Deburring tool or sandpaper
- Clean cloth
- Applicator brush
Having all tools ready helps ensure a smooth installation process.
10 Steps Apply PVC Solvent Cement Correctly for a Strong Bond
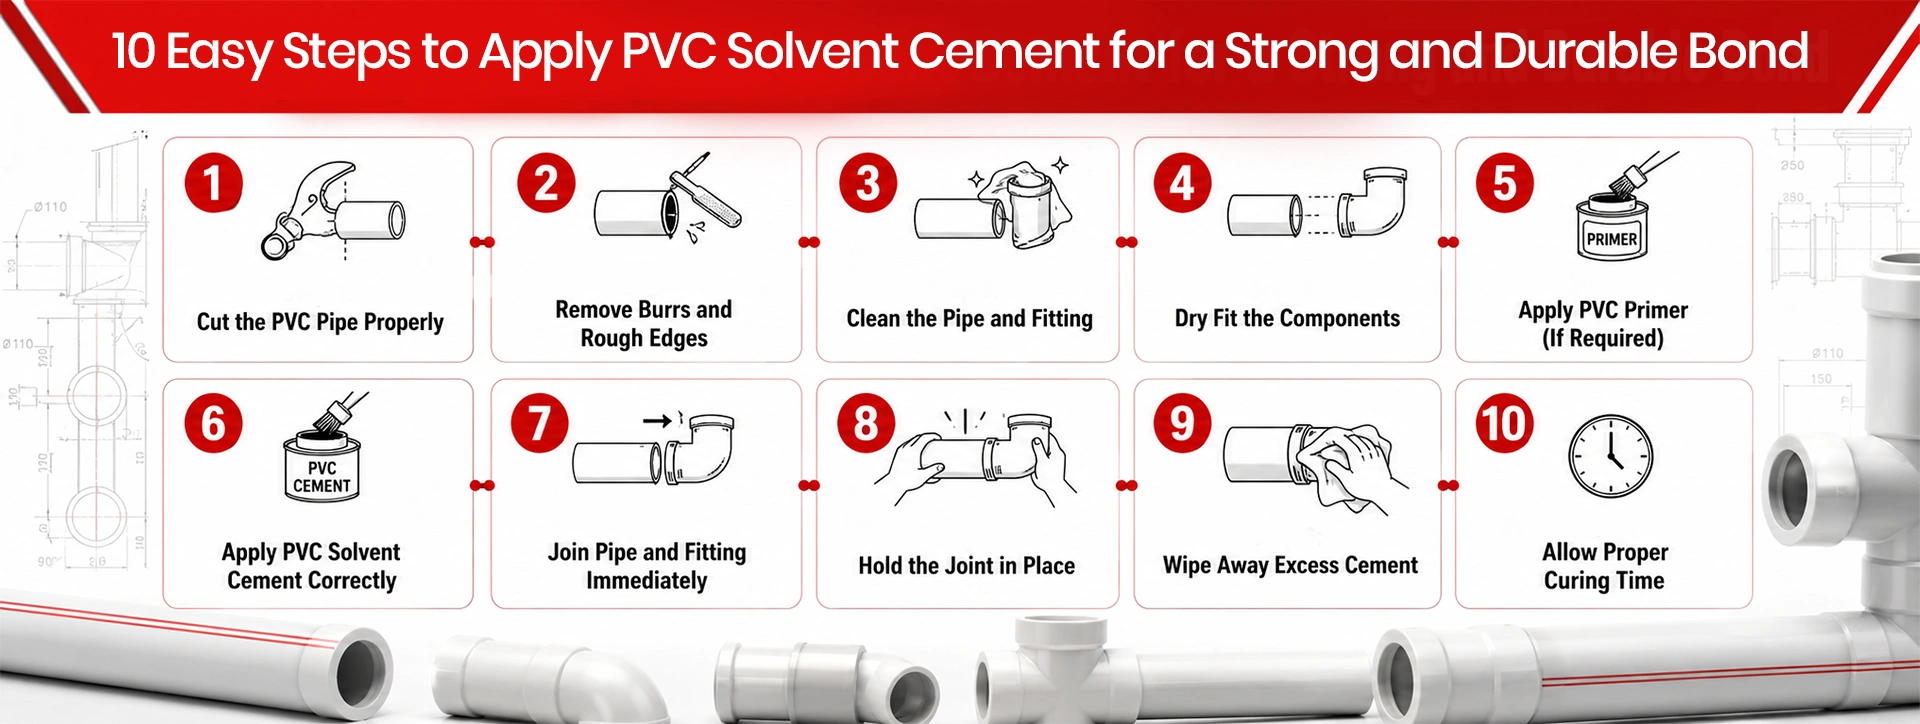
Step 1: Cut the PVC Pipe Properly
The first step is cutting the pipe to the required length.
Best Practices:
- Use a PVC pipe cutter for a clean and straight cut.
- If using a hacksaw, ensure the cut is square.
- Avoid uneven or angled cuts, as they can weaken the joint.
A straight cut allows the pipe to fit evenly inside the fitting, creating a stronger bond.
Step 2: Remove Burrs and Rough Edges
After cutting the pipe, inspect the edges for burrs or rough surfaces.
Why This Is Important:
Burrs can:
- Restrict water flow
- Prevent proper fitting insertion
- Create weak bonding areas
Use a deburring tool, utility knife, or sandpaper to smooth both the inside and outside edges of the pipe.
Step 3: Clean the Pipe and Fitting
Cleanliness plays a major role in successful solvent welding.
Cleaning Process:
- Wipe the pipe end with a clean, dry cloth.
- Remove dust, dirt, grease, oil, and moisture.
- Clean the inside of the fitting as well.
Any contamination can reduce bonding effectiveness and lead to leaks later.
Step 4: Dry Fit the Components
Before applying solvent cement, perform a dry fit.
Check for Proper Fit:
- Insert the pipe into the fitting without cement.
- Ensure the pipe fits snugly.
- Verify alignment and positioning.
The pipe should enter approximately one-third to two-thirds of the fitting depth during dry fitting.
This step helps identify fitting issues before permanent bonding.
Step 5: Apply PVC Primer (If Required)
Many plumbing codes recommend using a PVC primer before solvent cement.
Purpose of Primer:
Primer:
- Cleans the surface further
- Softens the PVC material
- Improves solvent cement penetration
- Enhances joint strength
Apply primer to:
- The outside of the pipe end
- The inside of the fitting socket
Allow it to remain wet before proceeding with solvent cement application.
Step 6: Apply PVC Solvent Cement Correctly
This is the most critical step in the entire process.
How to Apply:
- Stir the solvent cement if required.
- Use the supplied applicator brush.
- Apply an even coat to the outside of the pipe.
- Apply a thin, uniform layer inside the fitting.
- Ensure complete coverage without excessive buildup.
Avoid applying too little or too much cement.
Common Rule:
- More cement does not mean a stronger bond.
- Excess cement can weaken the joint and cause internal pipe restrictions.
Step 7: Join Pipe and Fitting Immediately
PVC solvent cement dries quickly.
Correct Joining Technique:
- Insert the pipe fully into the fitting.
- Push firmly until it reaches the fitting stop.
- Rotate the pipe approximately one-quarter turn while inserting.
This twisting action helps distribute the cement evenly across the bonding surfaces.
Step 8: Hold the Joint in Place
Once assembled:
- Hold the joint together for 15–30 seconds.
- Prevent the pipe from pushing out of the fitting.
PVC materials naturally tend to move apart immediately after insertion. Holding the joint ensures proper fusion.
Step 9: Wipe Away Excess Cement
After joining:
- Use a clean cloth to remove excess cement from the outside.
- Avoid disturbing the joint.
A neat finish not only improves appearance but also indicates professional installation quality.
Step 10: Allow Proper Curing Time
Curing is essential for achieving maximum joint strength.
Factors Affecting Cure Time
- Pipe size
- Temperature
- Humidity
- System pressure
Generally:
- Small-diameter pipes may require a few hours.
- Larger pipes may need 24 hours or more before pressure testing.
Always follow the manufacturer's recommended curing times.
Common Mistakes to Avoid
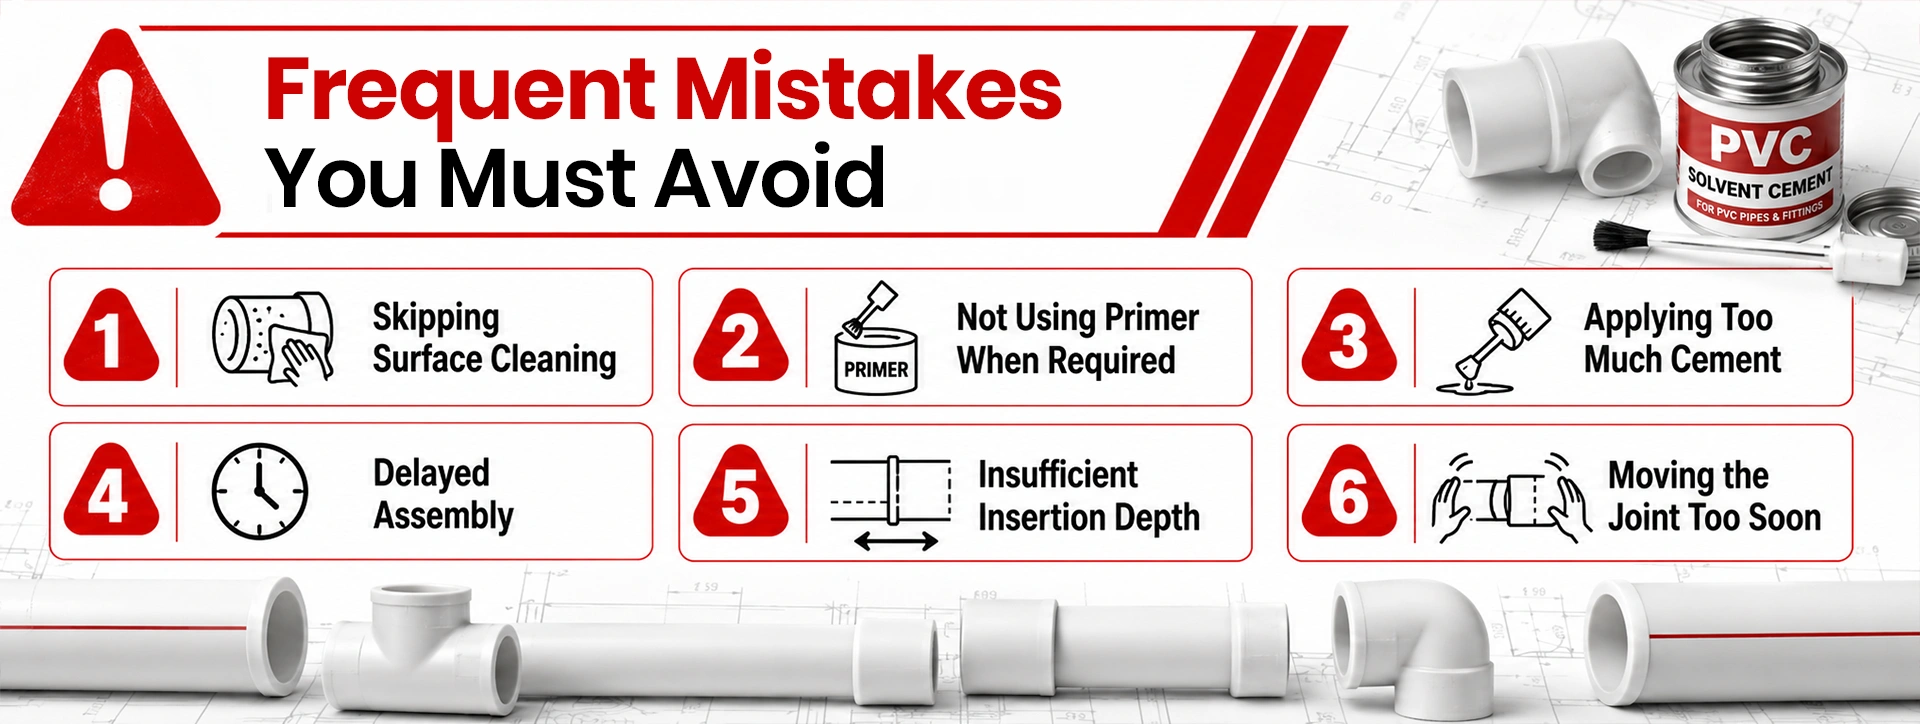
Many PVC joint failures occur because of simple installation errors.
- Skipping Surface Cleaning: Dust and grease can prevent proper bonding.
- Not Using Primer When Required: This may reduce joint strength and code compliance.
- Applying Too Much Cement: Excess cement can weaken the pipe wall and create blockages.
- Delayed Assembly: PVC solvent cement begins working immediately. Delays can result in weak joints.
- Insufficient Insertion Depth: Partial insertion reduces bonding surface area.
- Moving the Joint Too Soon: Premature movement can break the fusion process.
Safety Tips When Using PVC Solvent Cement
PVC solvent cement contains chemicals that require careful handling.
Safety Guidelines:
- Work in a well-ventilated area.
- Wear protective gloves.
- Avoid contact with eyes and skin.
- Keep away from open flames.
- Store containers tightly closed after use.
Following safety precautions helps ensure a safe installation environment.
Signs of a Properly Bonded PVC Joint
A correctly installed PVC joint typically shows:
- Uniform cement bead around the fitting edge
- No visible gaps
- Proper pipe insertion depth
- Leak-free performance
- Strong mechanical integrity
If these conditions are met, the joint is likely to provide years of reliable service.
Why Proper Application Matters
Incorrect application of solvent cement can lead to:
- Water leakage
- Reduced pressure performance
- Premature pipe failure
- Costly repairs
- System downtime
Taking a few extra minutes during installation can significantly improve the reliability and lifespan of the entire piping network.
Conclusion
Applying PVC solvent cement correctly is essential for creating strong, leak-proof, and long-lasting pipe connections. By following the proper steps—cutting accurately, cleaning thoroughly, using primer when needed, applying solvent cement evenly, and allowing adequate curing time—you can ensure a professional-quality installation.
Whether you're working on residential plumbing, irrigation systems, or industrial piping projects, proper solvent cement application helps maximize the performance and durability of your PVC system while minimizing the risk of future failures.
Frequently Asked Questions
Q1. How do you apply PVC solvent cement?
Wipe the pipe surface until it is clean and dry, then apply a primer in a ventilated area. After that, brush solvent cement evenly onto both the pipe and the fitting. Push them together firmly, and keep holding for about 30 seconds. Wait until everything feels fully dry before you use it.
Q2. What are common PVC cement mistakes?
The most frequent errors are inadequate cleaning, applying an incorrect amount of cement, failing to use a primer, and insufficient holding time or curing time after joining.
Q3. Is solvent cement stronger than glue?
Yes, the solvent cement is very strong compared to normal glues. It melts the surface slightly to chemically bond the pipe and fitting together and at the same time forms a leak-proof joint which is far stronger than any adhesive glue.
Q4. Can I use PVC cement as glue?
No, PVC cement is not a regular glue. It is a chemical solvent that only works on PVC materials. It chemically fuses two PVC surfaces together and cannot be used as a general purpose adhesive on other materials.
Q5. How long does solvent cement last?
A properly applied PVC solvent cement joint can last for decades without any leakage or failure. However an opened can of solvent cement should be used within one year and must be stored in a cool and dry place.
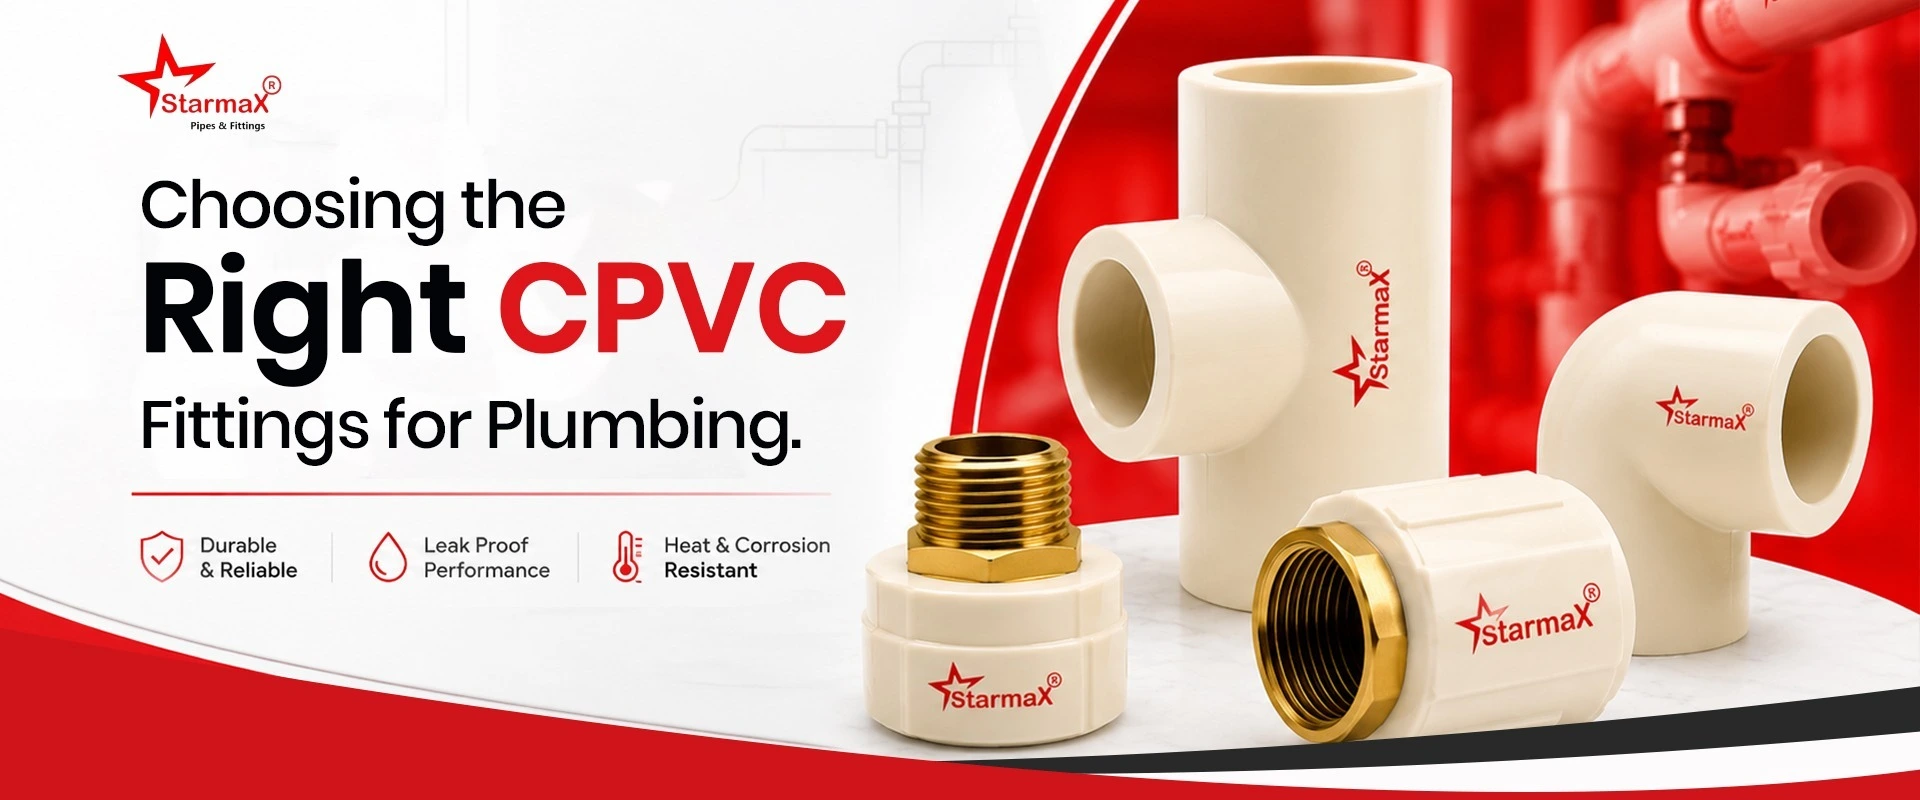
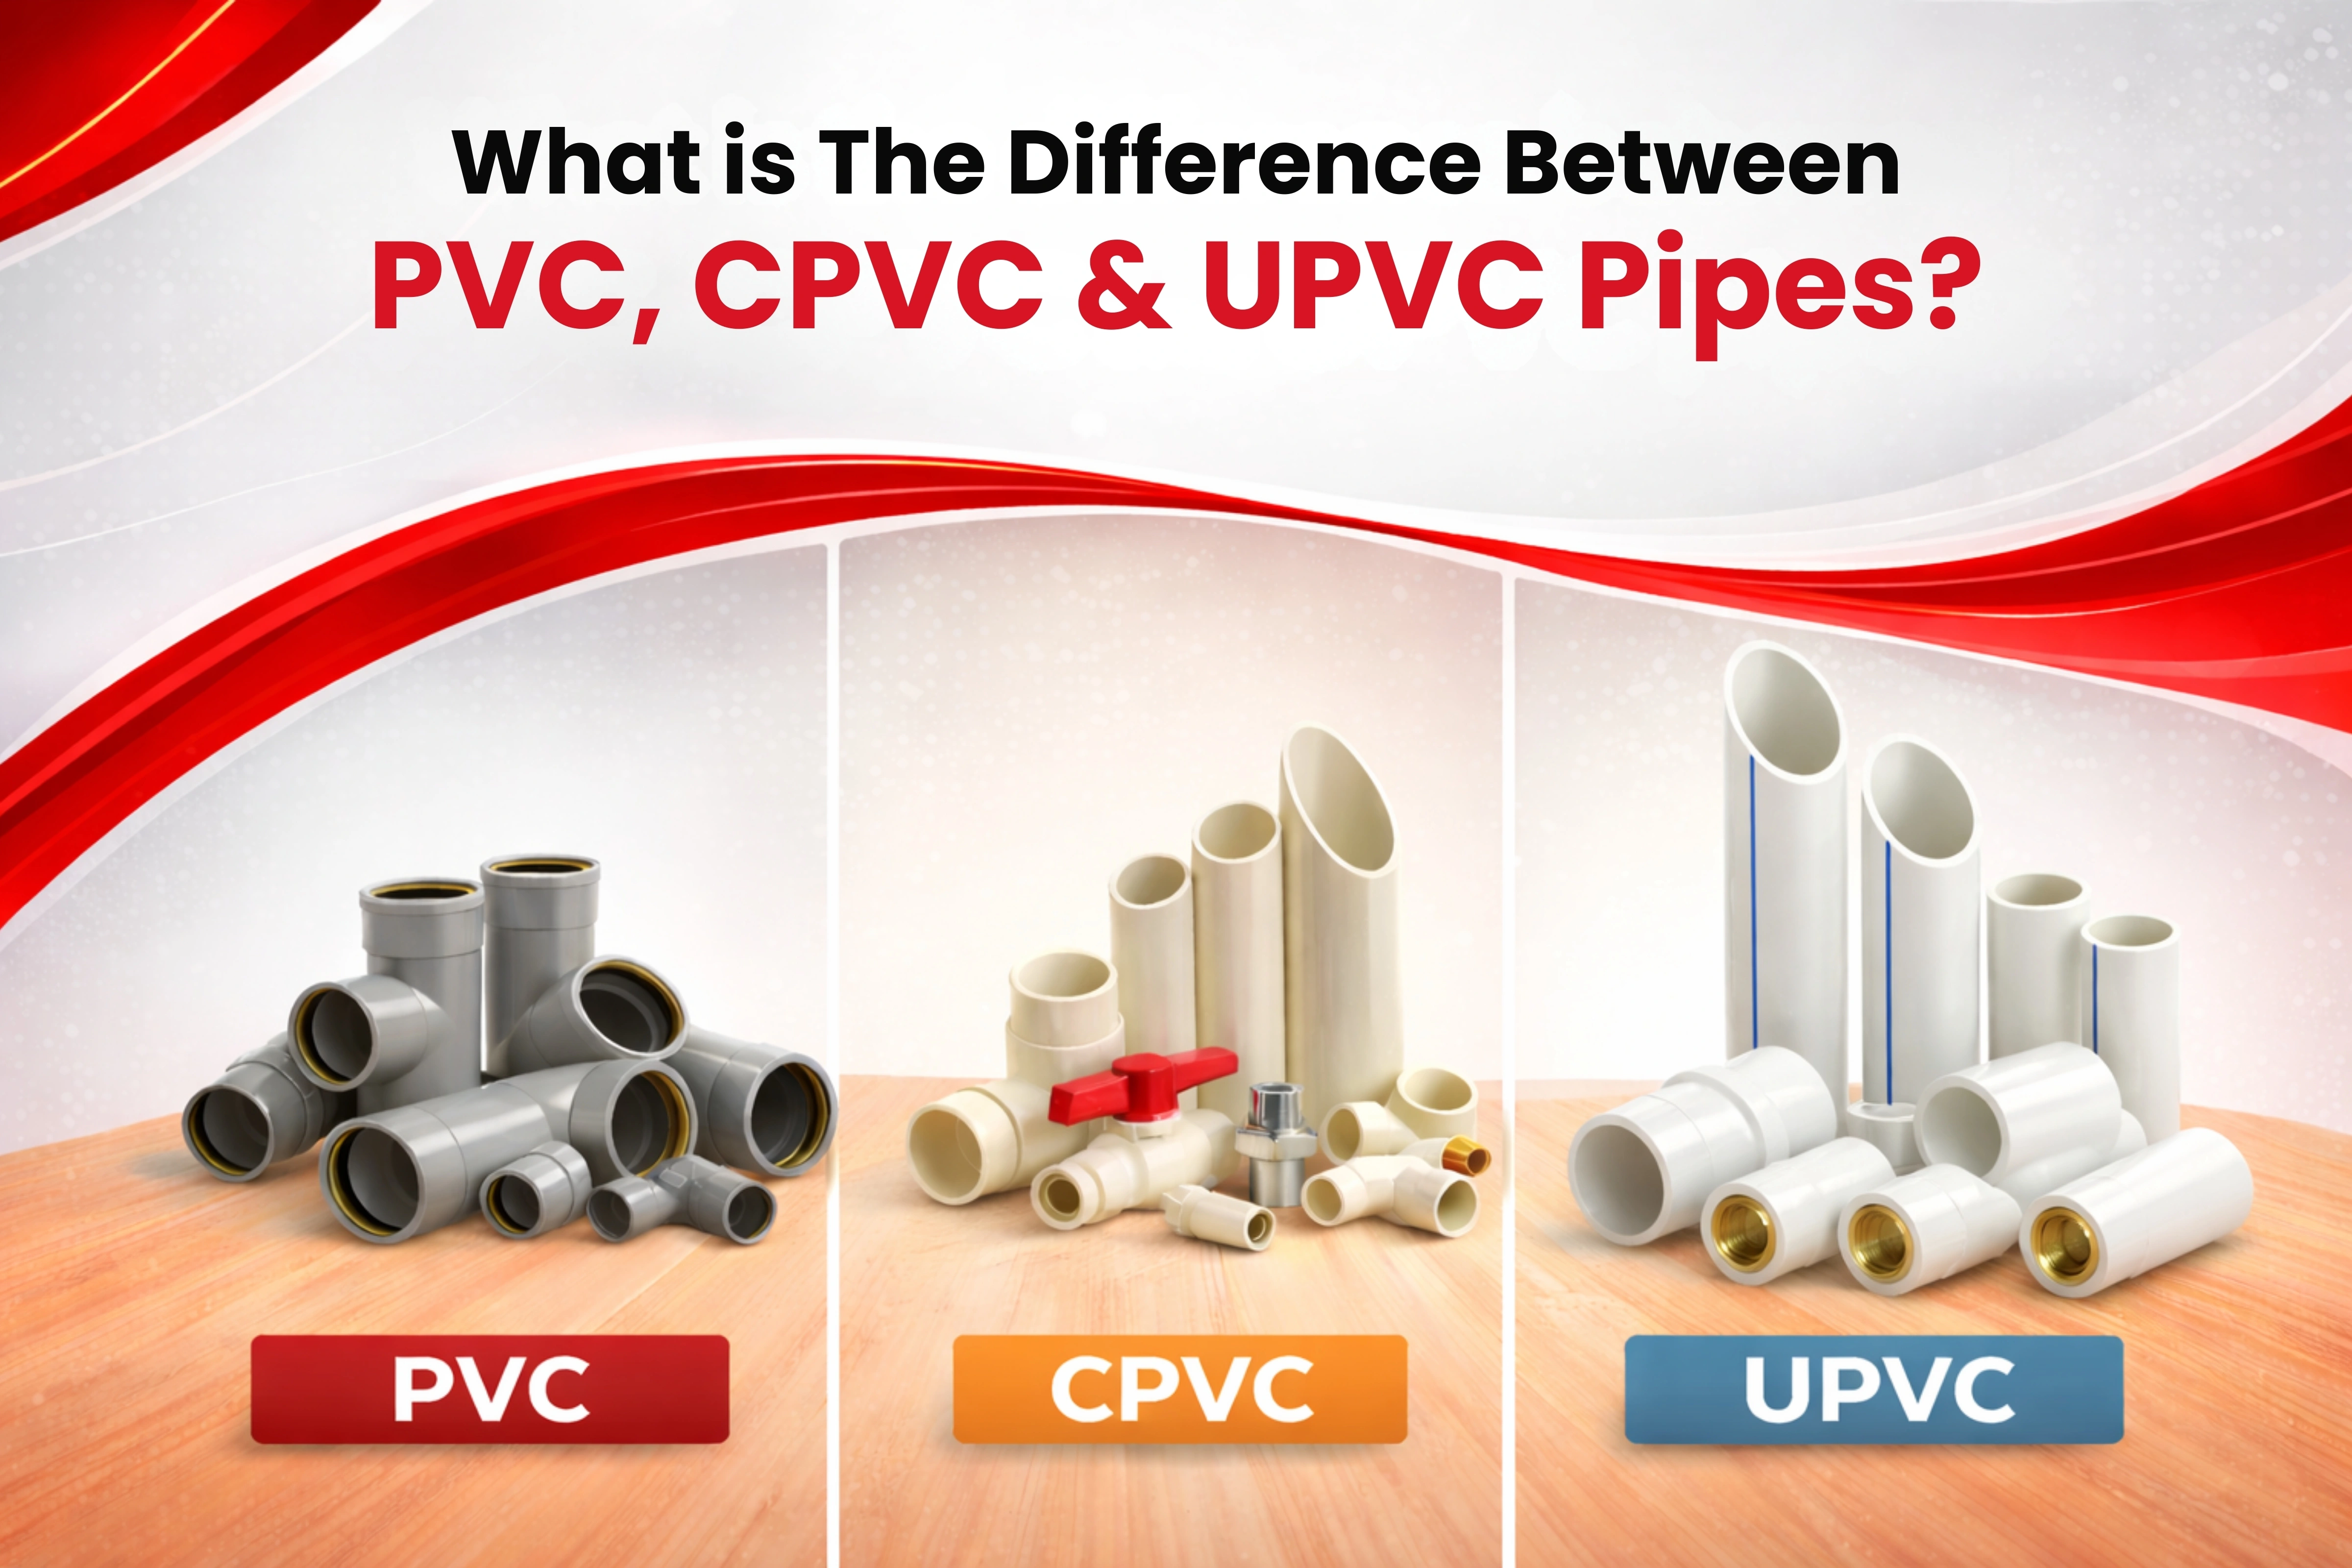
Related Blog

WHY STARMAX ?
MAKE IN INDIA- BEST QUALITY PRODUCTS UNDER THE MISSION MAKE IN INDIA
BEST QUALITY PRODUCTS- All products are certified and manufactured as per ASTM standards.
HIGHEST SATISFACTION We assure the customers for 100% statisfaction in terms of price and quality
BEST BUSINESS STANDARDS- we have the mission of providings the products in best business standards i.e.
Free! Get A Quote
"Starmax" is a brand launched by "Naira Group" offering a wide range of CPVC & UPVC pipes and fittings. We are based in India ka Dil- Dilli CHAWRI BAZAR (Delhi).
Our Product
CPVC Pipes and Fittings UPVC Pipes PTMT Taps UPVC Fitting System PVC Plastic Tap Solvent Cement Clampes BrochureContact Us
Mr. Sumit Gupta
Address
3348/1, Gali Peepal Mahadev, Chawri Bazar, Delhi-110006
© 2026 Starmax Pipes. All Rights Reserved.